Creating ChatGPT Apps With Rails 8
Learn how to use the OpenAI Apps SDK within Rails to create your own ChatGPT App
Jason Sich

With the launch of the Apps SDK from OpenAI, developers can now build apps directly in ChatGPT. This means that your existing apps can get a new user interface right in ChatGPT itself!
This guide walks through how I built Football MCP, a Rails app that can be used directly in ChatGPT to get Football scores, schedules and team info.
Also, check out the video walkthrough of the app at the end of this post to see how to set up the app and run it in ChatGPT.
The Stack
I use Ruby on Rails daily, so when I went to explore the new Apps SDK there were only Node & Python examples on the official website. Since the Apps SDK was built on top of MCP and there is an official MCP SDK for Ruby, I figured it'd be straightforward to implement Football MCP using Rails. The tech stack end up looking like this:
- Rails 8 - Works as the MCP server, also serves views and assets
- MCP Ruby SDK - Official gem that provides Rails with the MCP functionality
- OpenAI Apps SDK - Not really an installable SDK, but defines how your app and ChatGPT work together
- React - Renders the actual UI widget using the Apps SDK
- Cloudflare Tunnels (or ngrok) - Used in development for serving your local app remotely over SSL.
- Football MCP Source on GitHub - GitHub repository where you can see the example app as a whole.
Building the Server
The MCP part of the Football MCP app is comprised of 3 main components:
- The MCP Server itself
- 3 MCP Tools - Tools can be thought of as the methods that ChatGPT can call
- 3 MCP Resources - In the context of the Apps SDK, Resource are what define the widgets that ChatGPT displays
The MCP Ruby SDK does all of the heavy lifting when it comes to configuring and running an MCP server in Rails. Here is the code for the Football MCP Server for example:
server = MCP::Server.new(
  name: "football-mcp-server",
  version: "1.0.0",
  instructions: "A Rails-based MCP server for American football data",
  tools: [ GetLiveScoresTool, GetTeamInfoTool, GetUpcomingGamesTool ],
  resources: [
    LiveScoresWidgetResource.to_resource,
    TeamInfoWidgetResource.to_resource,
    UpcomingGamesWidgetResource.to_resource
  ]
)
Creating an MCP Tool
The basic structure of a tool is:
- Title - The name of the tool
- Description - A description of what the tool does and how & when to use it
- Input Schema - The required or optional parameters to call the tool with
- Call Method - The actual method implementation
It's important to consider Title, Description, and Input Schema as context you're providing to ChatGPT. You'll find yourself adjusting the content of each of these to achieve better results.
Here is a basic implementation for the GetLiveScoresTool:
class GetLiveScoresTool < MCP::Tool
title "Get Live Scores"
description "Returns current live football scores."
input_schema(
type: "object",
properties: {
league: {
type: "string",
description: "Optional league filter (e.g., 'Pro League', 'College League')"
}
}
)
def self.call(league: nil, server_context: nil)
scores = generate_mock_scores(league)
response = MCP::Tool::Response.new(
[ {
"type" => "text",
"text" => "Here are the live football scores."
} ],
structured_content: {
matches: scores,
lastUpdated: Time.now.iso8601
}
)
response
end
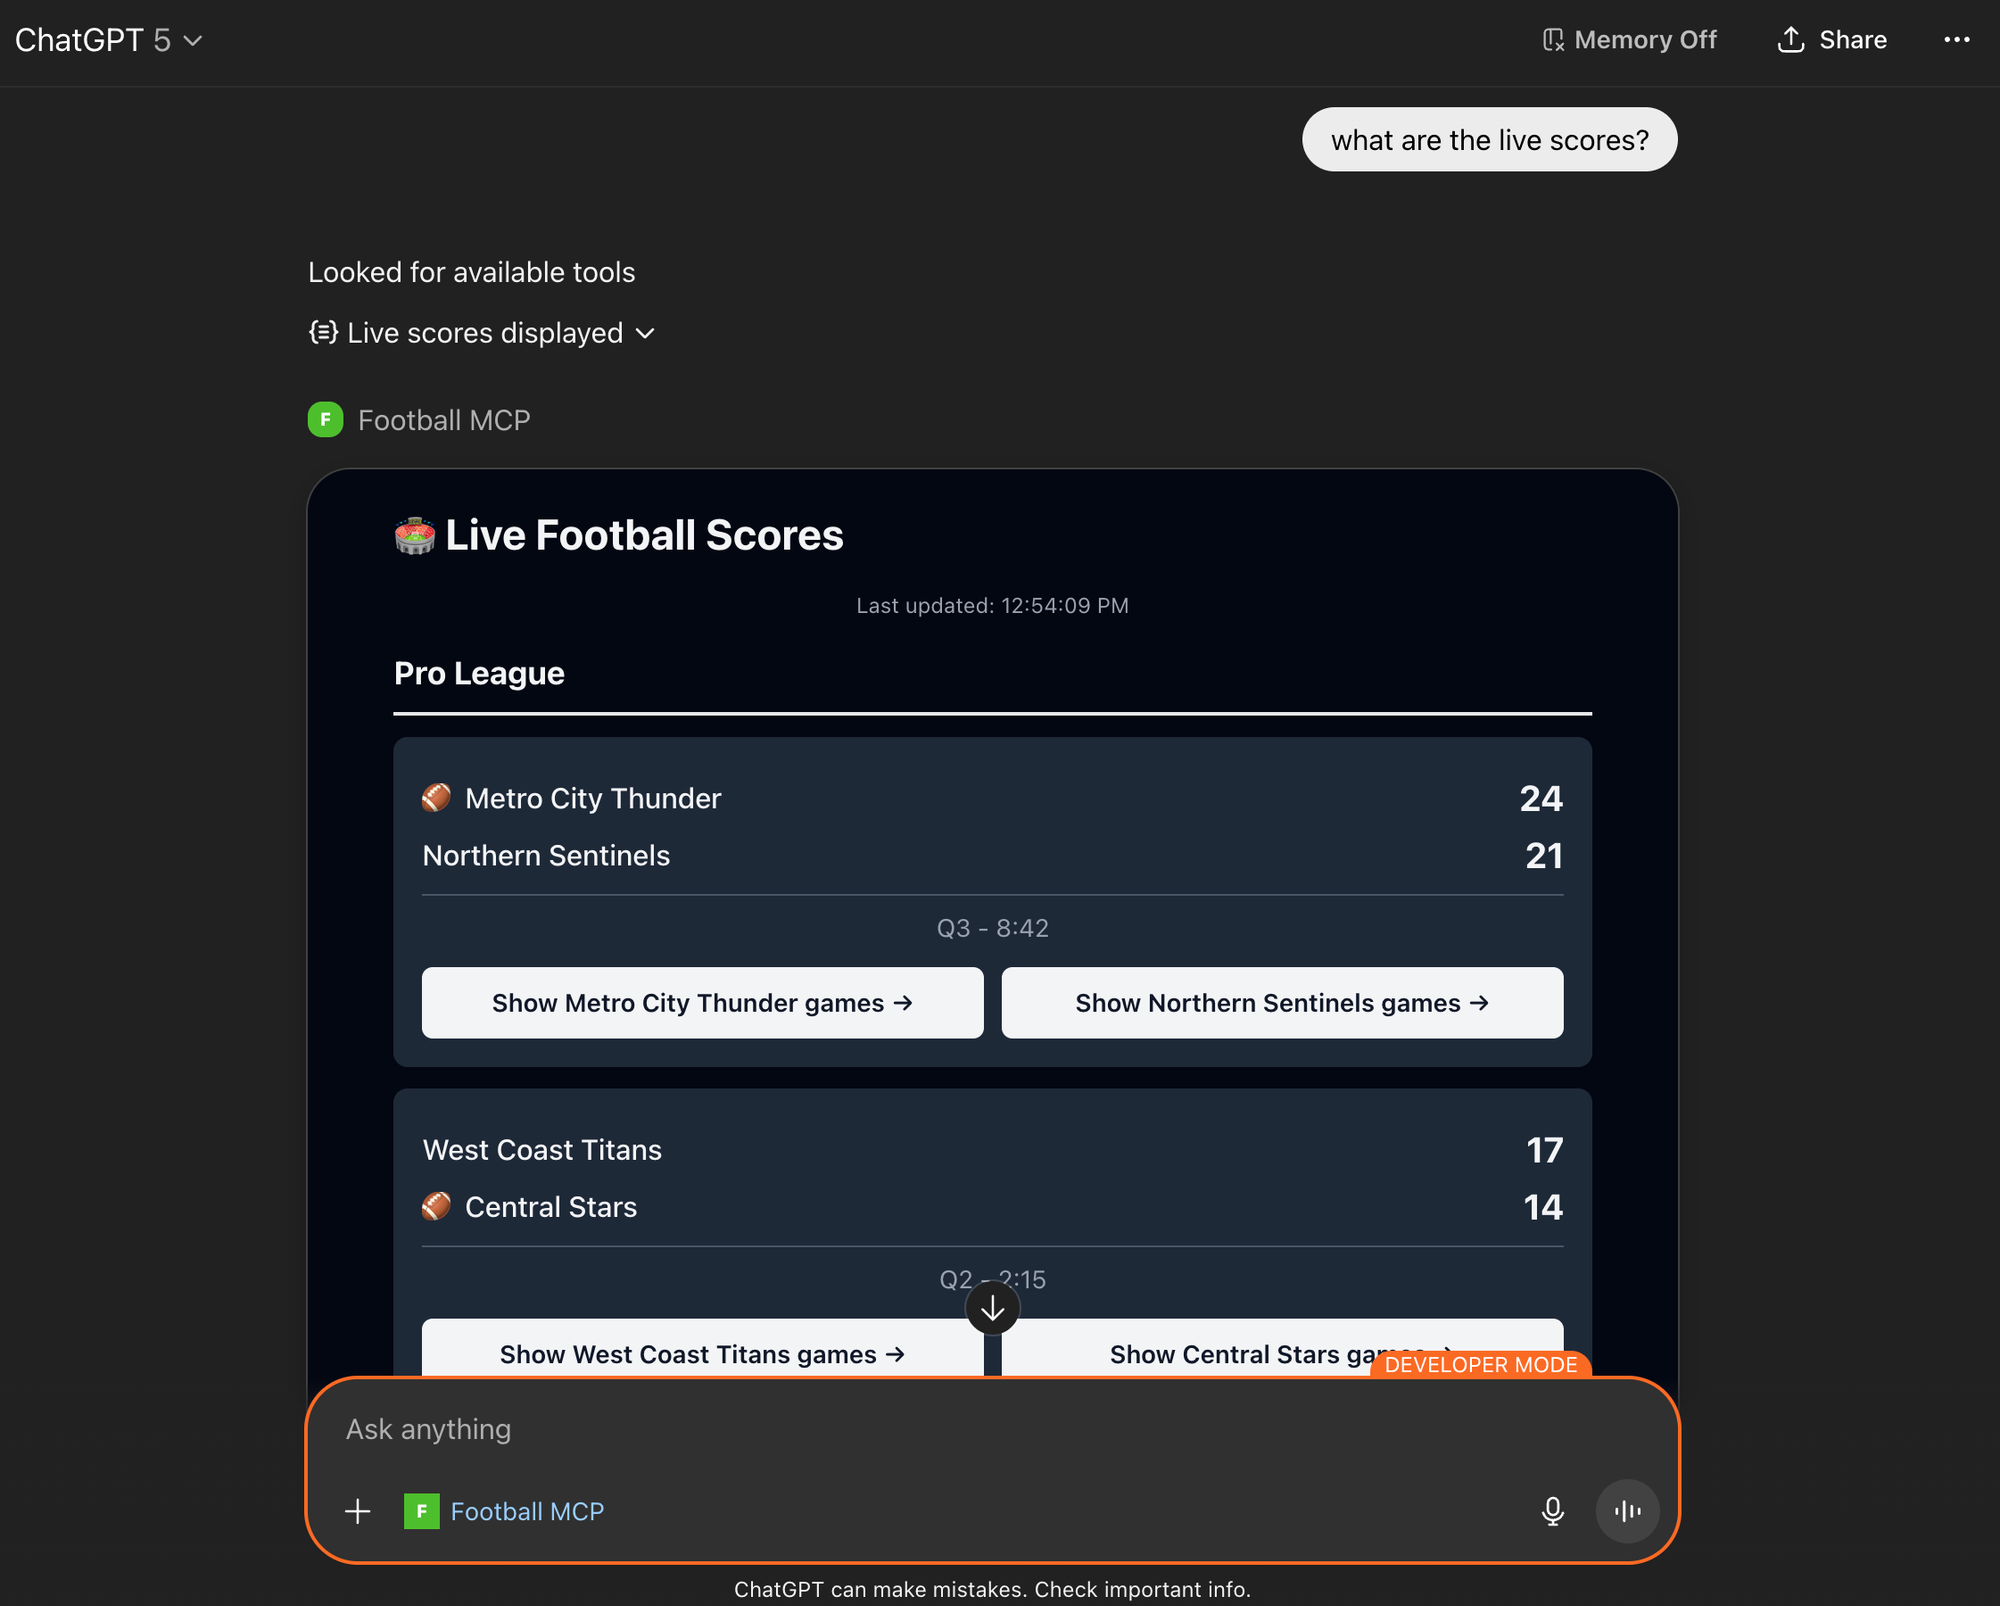
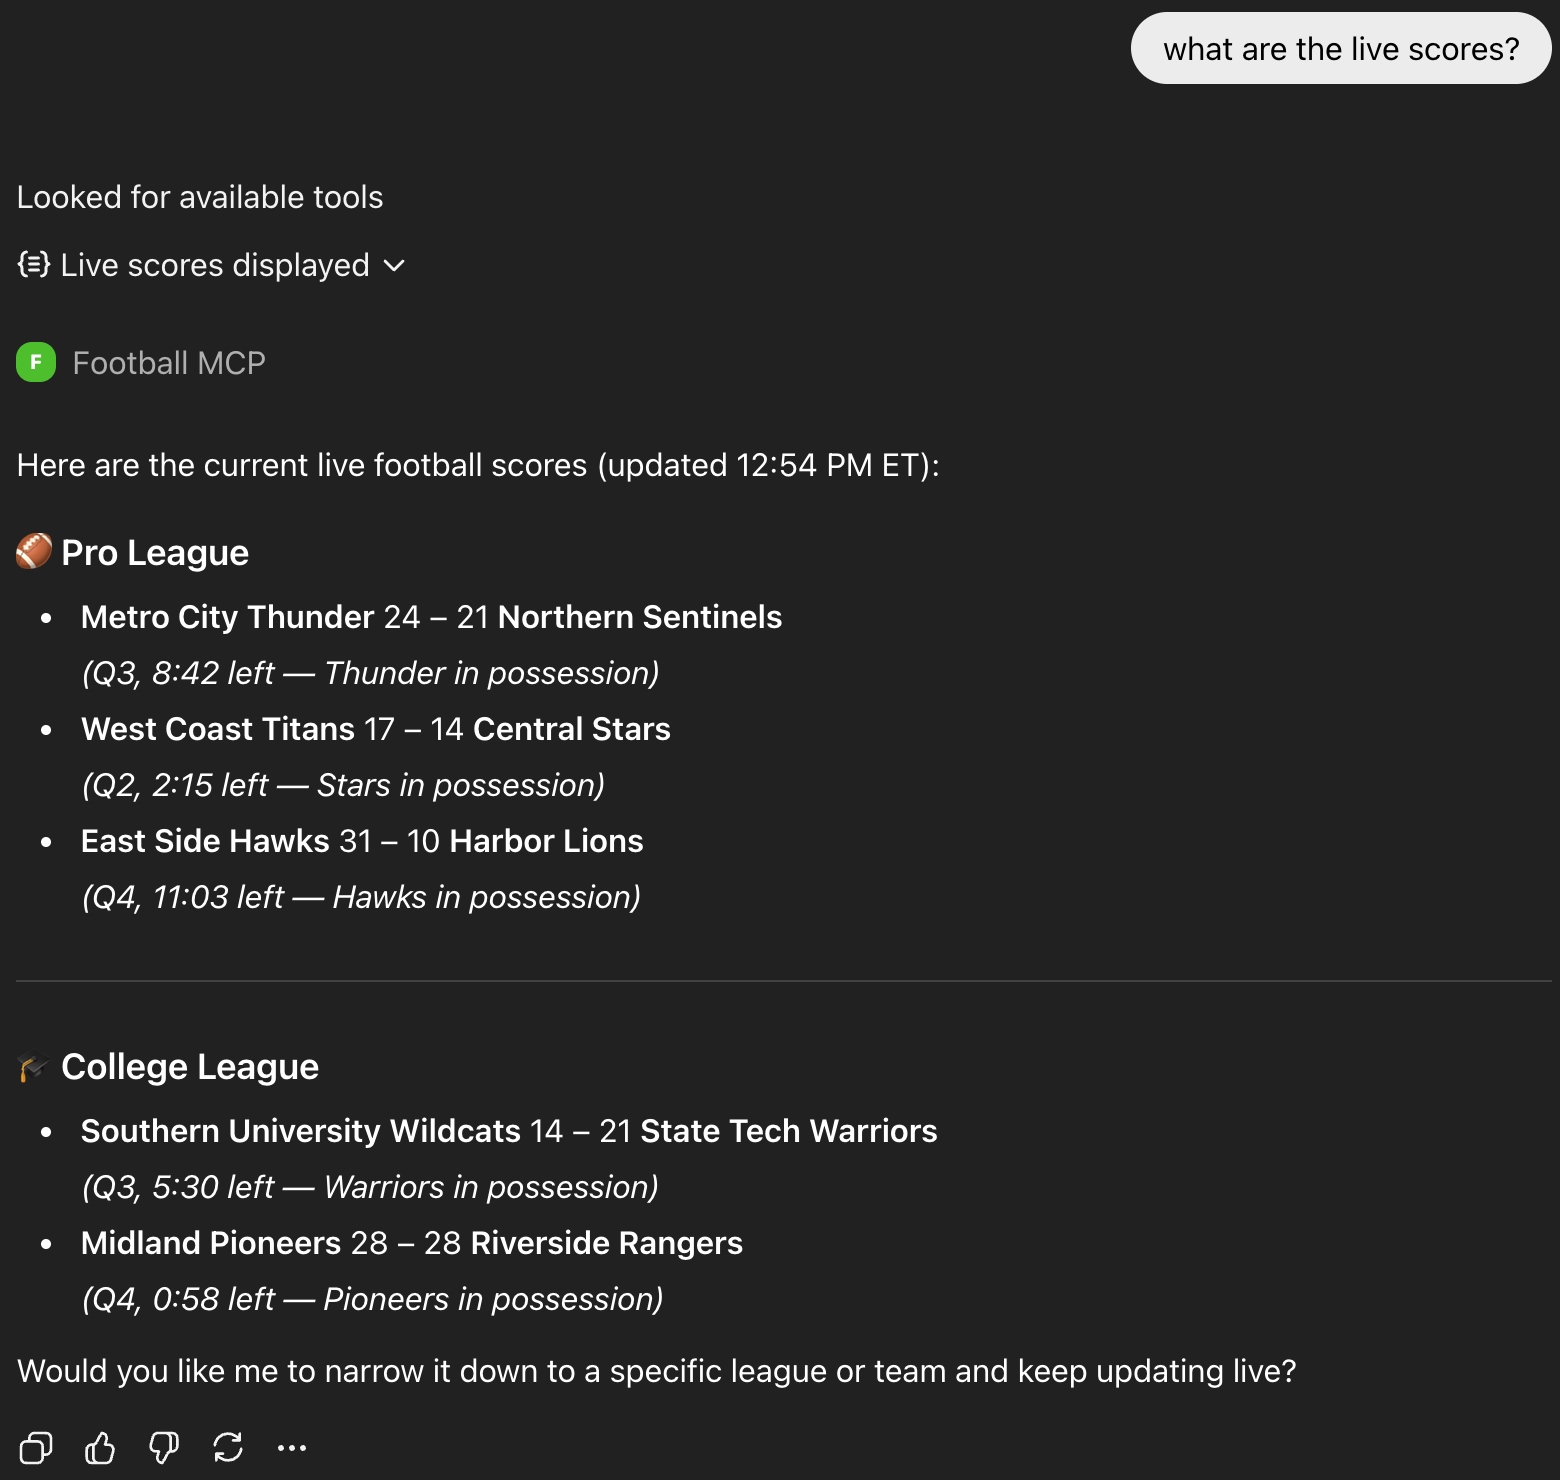
endJust by implementing the above (without the Apps SDK) you'd get something like the following in ChatGPT:
Providing our own UI
To take this implementation a step further, and add our own UI, we'll need to start using the Apps SDK from OpenAI. The Apps SDK is not another gem that you need to add to your Rails app. Instead it's hybrid of additional metadata added to MCP responses along with client side functionality provided via JavaScript.
In the above example we see how ChatGPT can call our Tool and give it's own representation of the data in the UI. By adding a Resource that contains a UI template for ChatGPT to use and connecting it to the tool, ChatGPT can start showing the custom UI.
In Football MCP there is the LiveScoresWidgetResource that describes an MCP Resource for displaying live football scores:
class LiveScoresWidgetResource
  VERSION = "v1"
  URI = "ui://widget/live-scores.html?#{VERSION}"

  class << self
    # Method used to notify MCP clients about what resources are available
    def to_resource
      MCP::Resource.new(
        uri: URI,
        name: "Live Scores Widget",
        description: "HTML template for displaying live football scores",
        mime_type: "text/html+skybridge"
      )
    end

    # Used in responding to MCP Resource requests
    def read
      ActionController::Base.render(
        template: "mcp_widgets/widget",
        layout: false,
        locals: {
          widget_title: "Live Football Scores",
          component_name: "LiveScoresWidget"
        }
      )
    end

    # Used in responding to MCP Resource requests
    def meta
      base_url = ENV.fetch("BASE_URL", "http://localhost:3000")

      {
        "openai/widgetPrefersBorder" => true,
        "openai/widgetDomain" => "https://chatgpt.com",
        "openai/widgetCSP" => {
          "connect_domains" => [ "https://chatgpt.com", base_url ],
          "resource_domains" => [ base_url, "https://*.oaistatic.com" ]
        }
      }
    end
  end
end
Some things to note:
- ChatGPT will do an initial fetch of these resources when a user adds the app. The Template associated with the Resource gets cached, which means that templates can get out of sync after making changes to your MCP Server. The Resources in Football MCP all have a version number that get's incorporated into their URI to help with cache busting.
- Resources that are to be used as a UI widget in ChatGPT need to have a
mime_typeoftext/html+skybridge. - Football MPC uses an ERB template to render the initial HTML for each widget. This template will end up loading the corresponding React component.
- ChatGPT is strict on security. Make sure that you have the domain that your hosting your app listing in the CSP section.
Linking Tools and Resources
Once you have a Tool and a Resource you'll need to add an additional meta field to the Tool called openai/outputTemplate, which points to a Resource URI.
# In the GetLiveScoresTool class....

meta(
  "openai/outputTemplate" => LiveScoresWidgetResource::URI,
  ...
)
With this configuration, ChatGPT will know that it can use the Template provided by the MCP Resource to render the data from a Tool call.
What about rendering?
Tools return data. Resources provide a Template to display that data, but how will rendering work?
Unfortunately you can't use traditional Rails rendering for your widgets. ChatGPT is going to hold a cached version of Template that gets rendered in an iFrame that it controls. The data for the Template will be the results of Tool calls. The way that the Apps SDK works is by injecting the Tool output into the iFrame via window.openai.toolOutput. The window.openai object serves as the bridge between your frontend and ChatGPT. It also provides various other functions, which we'll touch on later.
My first pass at building Football MCP involved having JavaScript poll for the Tool data to show up in toolOutput and then using JavaScript to manually render that data into the template. This was a hacky way to get things working, but ultimately not what I wanted to do for the long term.
Enter React
Knowing that I could not stick with standard Rails tooling for rending, I reached for the one thing that made sense for this specific scenario, React. Fortunately Rails makes it really easy to add in React to the asset pipeline. I ended up with one generic ERB file used to load the React app for each widget.
<!DOCTYPE html>
<html>
<head>
  <meta charset="utf-8">
  <meta name="viewport" content="width=device-width, initial-scale=1">
  <title><%= local_assigns[:widget_title] || "Widget" %></title>
  <%= stylesheet_link_tag "tailwind" %>
  <%= javascript_include_tag "application", type: "module" %>
</head>
<body>
  <div id="react-root" data-component="<%= local_assigns[:component_name] %>"></div>
</body>
</html>
One important note is how the component registry works. The registry allows the ERB template to specify the name of the component to use and loads the corresponding React component. Here is what the registry looks like in application.js
....
// Component registry - add new widgets here
const COMPONENT_REGISTRY = {
  'LiveScoresWidget': LiveScoresWidget,
  'TeamInfoWidget': TeamInfoWidget,
  'UpcomingGamesWidget': UpcomingGamesWidget,
};

// Wait for DOM to be ready
document.addEventListener('DOMContentLoaded', () => {
  const container = document.getElementById('react-root');
  const componentName = container?.getAttribute('data-component');

  const Component = COMPONENT_REGISTRY[componentName];

  if (!Component) {
    console.error(`Component "${componentName}" not found in registry`);
    return;
  }

  const root = createRoot(container);
  root.render(<Component />);
});
If you want more details about binding the toolOutput to a React component, see the useOpenAiGlobal section of the Apps SDK docs.
What it looks like
Once this is wired up, you no longer just have ChatGPT showing MCP Tool data in the normal way, instead it will render your widgets:

Making it interactive
Having UI widgets integrated with ChatGPT is pretty cool, but allowing users to interact with them in the context of an AI chat is even cooler. The Apps SDK gives developers a few options to enable interactivity:
window.openai.callToolwill call a specific MCP Tool so that you can fetch data from the server. A use case for this would be have a "refresh data" button on the live scores widget so that users can get up-to-date data on demand.window.openai.sendFollowUpMesagesends a user message to the LLM, but the message is not shown as part of the chat conversation.window.openai.openExternalcan be used to open external resources, e.g. links.window.openai.requestDisplayModecan be use for transitioning an app from inline to fullscreen or pip.
I wanted to make sure that Football MCP had some type of interactive component to it, so I added the "Show {team name} games" buttons in the live scores widget. When a user clicks one of these buttons ChatGPT will run the GetUpcomingGamesTool and display the corresponding widget. Behind the scenes React is calling sendFollowUpMessage, which sends a user message to ChatGPT. This message is not displayed as part of the chat conversation, but it does cause ChatGPT to do it's normal Tool calling and displaying of results.
You might be tempted to call callTool instead of sendFollowUpMessage as it seems more intuitive, but callTool will not render any data in the chat.
Connecting your app to ChatGPT
You will definitely be wanting to test your application directly in the ChatGPT interface. You'll need to be able to serve your app up remotely over HTTPS in order for this to work. Typically you'd use some type of tunneling service like ngrok to do this. I ran into some unexpected limitations with using the free plan for ngrok, so I opted to use Cloudflare's Tunnel solution instead.
Once you have a public facing URL that uses HTTPS you can add your app to ChatGPT by going to Settings > Apps & Connectors and clicking Create. Using your own apps is only supported in Developer Mode. This is found in Settings > Apps & Connectors > Advanced Settings > Developer Mode.
How users will experience your app
One last thing to note. For me ChatGPT is configured to pick it's appearance by using my System settings, which change depending on the time of day. So depending on the time of day ChatGPT may use a dark theme or a light theme. My initial design did not account for this and it became obvious that I needed to support both light and dark themes for Football MCP. The problem was easily fixed by adding in TailwindCSS, which handles it with ease.
Video walkthrough
Summary
That’s the core pattern: Rails handles the MCP side, React handles the UI, and the Apps SDK bridges them in ChatGPT. Hopefully this gets you excited to try out the new Apps SDK in your own Rails app.
Please feel free to reach out to me with questions!